How to Present and Sell Kitchen Projects Remotely
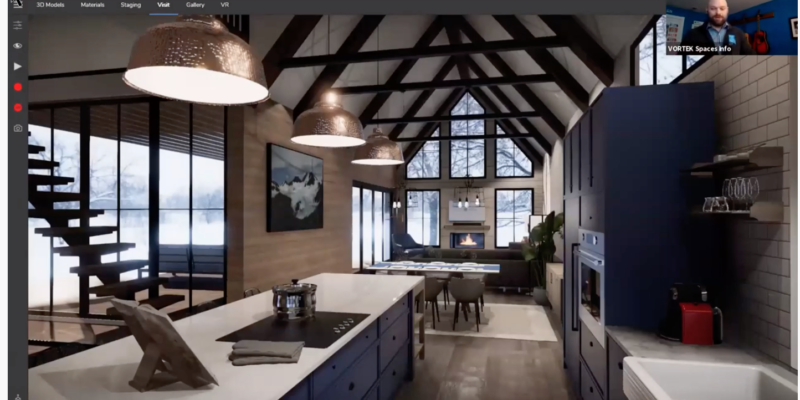
Jonathan Blackburn, online presentation specialist and account executive at VORTEK Spaces, takes us through his top tips for creating an exciting live online presentation that engages clients and helps close sales from your home office.
With the closure of showrooms across the country, designers are looking for ways to create dynamic contact-free presentations so they can sell projects from their home offices. Whether you are using VORTEK Spaces for your renders, or just considering it, these tips can help you develop live, online presentations that give you control of your sales process and create a personal experience that your clients will get excited about.
Tip Number 1: Simply sending renders in an email won’t work.
The number one rule, regardless of your location, is that you should be in control of your sales process from beginning to end. Imagine if your client opens your renders on a small smartphone screen and is immediately underwhelmed – you’ve already lost control. Using a webcam with a screen sharing app allows you and your client to see each other’s faces, so you’ll see emotions and properly respond to objections. Just the fact of having the online meeting scheduled ahead of time means the client is ready, anticipating a presentation and is already excited.
For screen sharing apps, there are lots of options; Zoom, GoToMeeting, Microsoft Teams, JoinMe etc. Jonathan has 4 years’ experience working with Zoom and recommends it for its high image quality – no image compression, no pixel reduction, no color reduction. There is a reason we’ve heard so much about it in recent times! Which is another plus – many clients will already have downloaded and used it.
Things you’ll need for successful screen sharing:
- Webcam – most laptops have decent built-in cameras, no need to go for TV quality
- Good microphone or headset – most built-in mics are not great
- Reliable high-speed internet – you don’t want lag time
Tip Number 2: BE READY
Open all required files and folders before the meeting. You don’t want to be looking around for files or waiting for PDFs to open during your presentation. Ensure your client understands the connection procedure beforehand. A regular phone call or email before the meeting can help. Let them know if they need to download anything.
For the presentation itself, create a PowerPoint presentation – it allows you to guide your client through a story about their project, with images and notes.
Tip Number 3: Be Interactive
Make sure you’ve centred your camera. Try standing up during the presentation! You may find you have better voice projection and energy. Always be asking for feedback and questions – “is this what you expected?” During your presentation, take screenshots and notes. This will set you up for amazing follow-up and ensure that you and your client are talking about the same aspect of the presentation in later discussions.
Sharing Pictures with VORTEK Spaces
When you want to follow up after the presentation by sending large files with hi-res renders by email, use a cloud-based file sharing service (Dropbox, iCloud, Google drive etc.). Most function via folders with shareable links. WeTransfer is also very good for large files.
Every viewpoint you’ve create in your VORTEK render becomes a still picture available in the Gallery. You may have created certain viewpoints to control your video walkthrough (to bring the camera around the kitchen island, for example), but you don’t have to share them all. Be selective with the photos you share. Choose your top 5 or 10 to include in your PowerPoint with notes.

Creating Videos with VORTEK Spaces
The video walkthrough is an important element in the sales process that will elevate the client’s level of emotion and excitement – and ultimately bring them to sign. The movement creates a sense of realism, and helps the viewer understand the project.
- Think of video as a trailer for a movie – keep it short. 1 – 2 minutes. Create a good flow and set the mood, no need to see every nook and cranny.
- Soundtrack options – VORTEK Spaces provides several soundtrack options to help you tell your story; happy / smooth / ambient… but don’t use these during your live presentation. Save that for later when your clients will watch it with their family.
- Think about the mood for your project and remember the story you’re telling – is it a day scene with dramatic sunlight, or a cozy night scene with warm lighting?
- Don’t forget about the 360-video option! This immersive video experience is created with 6 “cameras”. While viewing the video, you or your client can use the mouse to move the view around and see in all different directions. Looks great on a tablet or smartphone.

YouTube Video Sharing with VORTEK Spaces
The primary benefit of using YouTube to share your video walkthroughs, is that everyone has access so you are guaranteed your client will be able to view your video.
Create a YouTube business channel; this will allow you to give access to several members of your team, and then connect your channel to VORTEK Spaces so you can upload your videos directly from within VORTEK Spaces.
Watch the recorded webinar above for instructions on:
- How to upload from VORTEK Spaces
- Best practices for adding a name, description, and tags to a video
- Select the right privacy setting for your video
- Sharing on Facebook
- Custom branding
If you’d like to view all recorded VORTEK Spaces webinars or sign up for upcoming webinars, visit: www.vortekexperience.com/webinars